DIY Air Sealing: 10 Common Leaks Homeowners Can Fix Themselves

Air leaks in a home can lead to significant energy loss, resulting in higher heating and cooling bills while compromising indoor comfort. Fortunately, many common leaks are easy for homeowners to identify and seal themselves. This article outlines ten common areas where air leaks occur and provides practical DIY solutions to help you improve your home's energy efficiency.
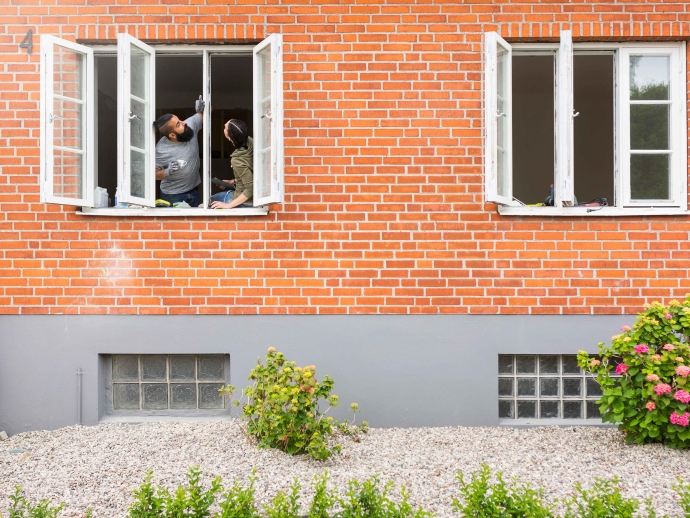
1. Windows
Common Leak Locations: Gaps around window frames, cracks in the glass, and worn-out weatherstripping.
DIY Fix: Inspect the window frames for gaps or cracks. Use caulk to seal any openings around the frame and replace old or damaged weatherstripping with new material. For added insulation, consider applying window film or using thermal curtains to reduce heat transfer.
2. Doors
Common Leak Locations: Gaps under doors, around door frames, and between the door and its weatherstripping.
DIY Fix: Install a door sweep at the bottom of the door to block drafts. Check the weatherstripping around the door frame and replace it if it's worn or damaged. Ensure that the door closes tightly against the frame to minimize air leakage.
3. Attic Access Points
Common Leak Locations: Pull-down attic stairs, hatches, and other access points.
DIY Fix: Seal gaps around attic access points with weatherstripping or foam tape. For pull-down stairs, consider adding an insulated cover or hatch to reduce air leakage when the stairs are not in use.
4. Electrical Outlets and Switches
Common Leak Locations: Outlets and switches on exterior walls can allow air to leak into your home.
DIY Fix: Use foam gaskets specifically designed for electrical outlets and switches. Simply turn off the power, remove the cover plate, place the gasket behind it, and reattach the cover plate. This simple fix can significantly reduce drafts.
5. Ductwork
Common Leak Locations: Joints and seams in ductwork can be prone to leaks, especially if they are not properly sealed.
DIY Fix: Inspect accessible ductwork for gaps or holes. Use mastic duct sealant or foil tape (not regular duct tape) to seal any leaks you find. Ensure that all joints are securely fastened and insulated to prevent energy loss.
6. Plumbing Penetrations
Common Leak Locations: Areas where plumbing pipes enter walls or floors can create gaps that allow air to escape.
DIY Fix: Use spray foam insulation or caulk to seal gaps around plumbing penetrations. This will help maintain indoor temperatures while preventing drafts from entering your home.
7. Vents and Exhaust Fans
Common Leak Locations: Bathroom exhaust fans and kitchen vents can leak conditioned air if not sealed properly.
DIY Fix: Inspect the edges of exhaust fans for gaps and apply caulk as needed. Ensure that any vent covers close tightly when not in use. Consider installing backdraft dampers on exhaust vents to prevent outside air from entering when the fan is off.
8. Chimneys
Common Leak Locations: Gaps around chimney flues can allow cold air to enter your home.
DIY Fix: Use high-temperature caulk designed for fireplaces to seal gaps around chimney flues where they penetrate ceilings or roofs. Additionally, ensure that chimney caps are properly installed to prevent drafts when fireplaces are not in use.
9. Baseboards and Trim
Common Leak Locations: Gaps between baseboards, trim, and walls can lead to air leakage.
DIY Fix: Inspect baseboards and trim for gaps where they meet the wall or floor. Use caulk to fill these gaps for a tighter seal. This not only improves energy efficiency but also enhances the overall appearance of your home.
10. Foundation Cracks
Common Leak Locations: Cracks in the foundation walls or around windows can allow cold air into your home.
DIY Fix: Inspect your foundation for visible cracks and fill them with hydraulic cement or a concrete patching compound designed for exterior use. This will help prevent cold drafts from entering your living space.
Conclusion
Sealing air leaks is one of the most cost-effective ways to improve your home's energy efficiency while enhancing comfort levels throughout the year. By addressing these ten common areas where air leaks occur, homeowners can significantly reduce their heating and cooling costs—often by as much as 15%—and create a more comfortable living environment.
With just a few tools and materials—such as caulk, weatherstripping, foam gaskets, and spray foam insulation—most homeowners can tackle these DIY projects without professional assistance. Regularly inspecting your home for air leaks and sealing them promptly will not only save you money but also contribute positively toward a more sustainable future by reducing energy consumption.
As you embark on your DIY air sealing journey, remember that every small effort counts toward creating a more energy-efficient home that keeps you comfortable year-round.

